
Refresh Materialized View With Django Q
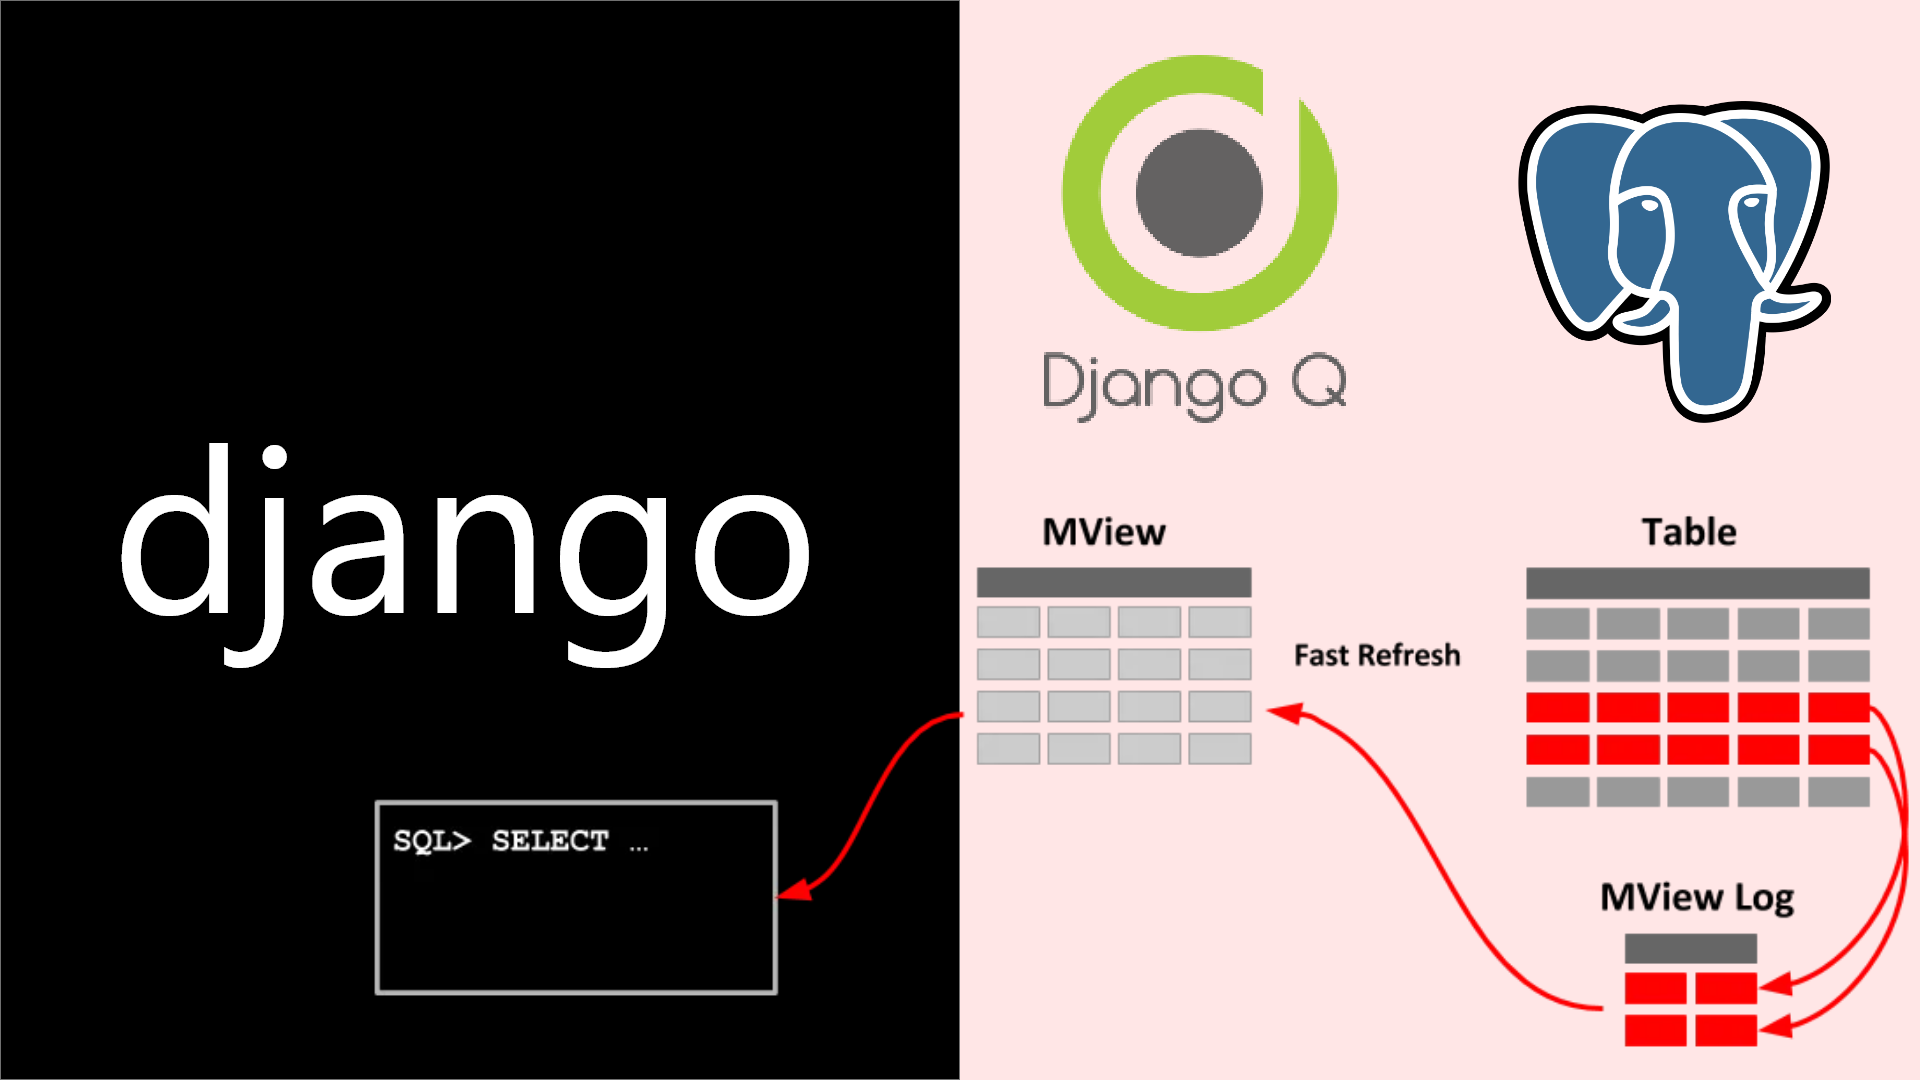 We have already created a materialized view and used it to retrieve data in previous blogs. But the problem with materialized view is that, it does not get updated itself. The changes on main table is not reflected to the materialized view automatically. An extra mechanism is required to refresh the materialized view and one of the most common method is to set a cron job.
Please read (Materialized View in Django) and (How To Use PostgresSQL With Django) if you are new to the topics.
But today we will use a Djano-Q instead of cron to schedule the refreshment of our materialized view. Here is the GitHub link to the project i am using.
(https://github.com/ShivaBsnt/Materialized-View-in-Django)
Step1. Install a Django-Q
Run the command below to install Djano-Q:
pip install django-q
Add the django_q to INSTALLED_APPS of your settings.py:
  INSTALLED_APPS = [
'django.contrib.admin',
'django.contrib.auth',
'django.contrib.contenttypes',
'django.contrib.sessions',
'django.contrib.messages',
'django.contrib.staticfiles',
'polls',
'django_q' ]
Run migrations to create the database tables:
python manage.py migrate
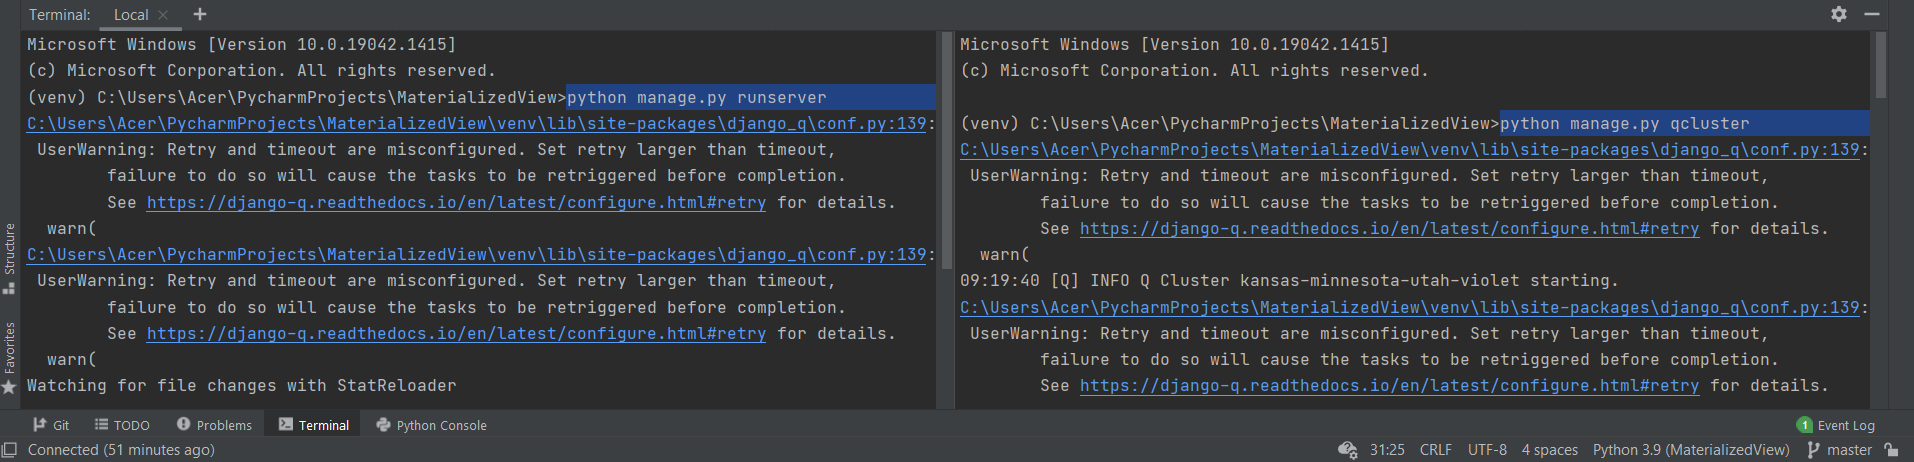
We need to run Django Q cluster to handle the async task so run the command:
python manage.py qcluster
Both the Django server and Q-cluster should be running side by side.
NOTE: The django_Q requires a redis cache. It shows an error “redis.exceptions.ConnectionError: Error 111 connecting to 127.0.0.1:6379. Connection refused.” if your redis server is not on.
If you do not have redis on your system then please download redis [Redis] and install to your system.
Step2. Writing a Raw SQL Query
Open a polls app and create a utils.py file. Inside a file create a function to connect with database and refresh the materialized view.
1
2
3
4
5
6
from django.db import connection


def my_custom_sql():
    with connection.cursor() as cursor:
        cursor.execute("REFRESH MATERIALIZED VIEW polls_user_matt_view")
The django.db.connection represents the default database connection. To use the database connection, connection.cursor() is used. The cursor.execute(sql, [params]) executes the SQL in database.
Step3. Add a Data
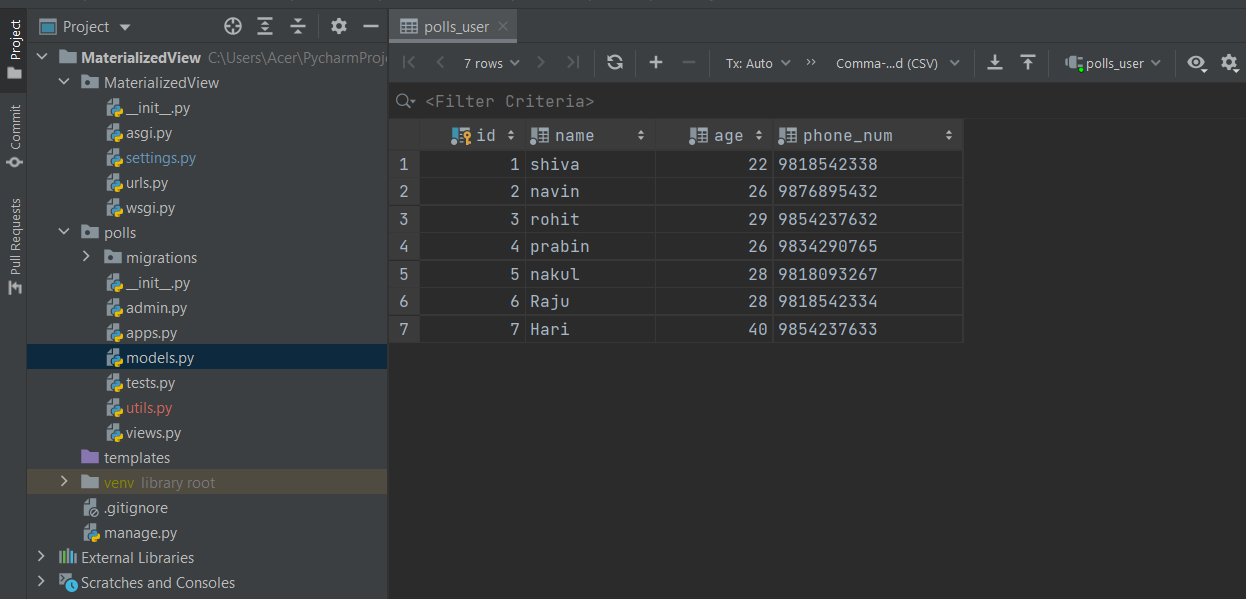
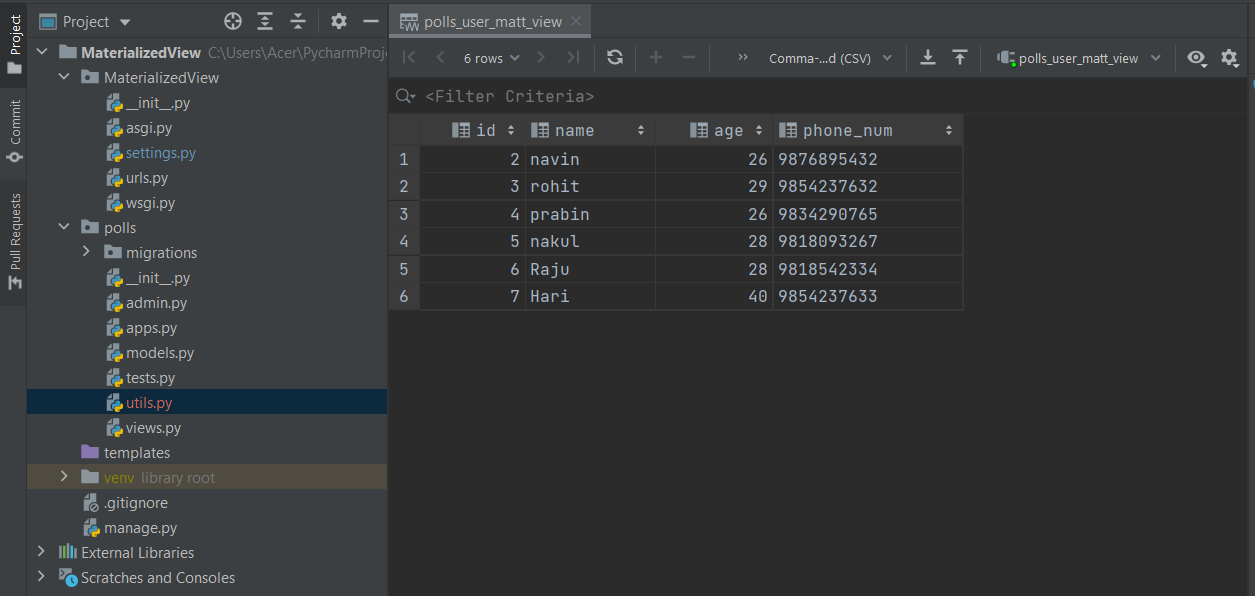
Before scheduling, lets add some of the user to database so that we could see the difference between polls_user and polls_user_materialized_view.
Previously table contained five user, lets add two more user.
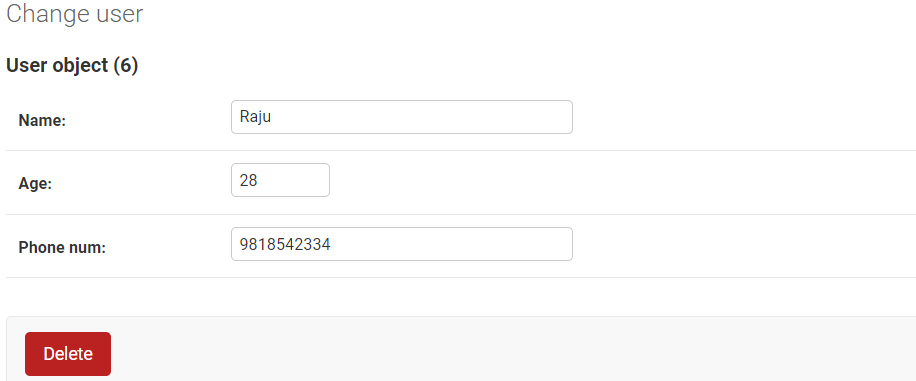
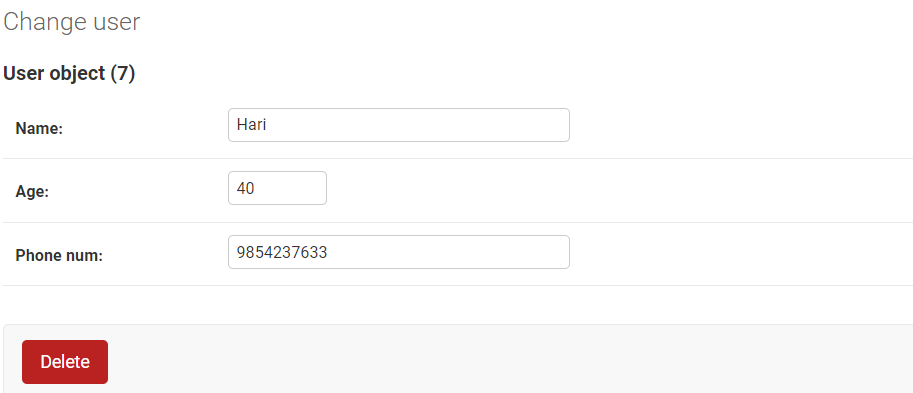
Now the user table has got altogether seven data.
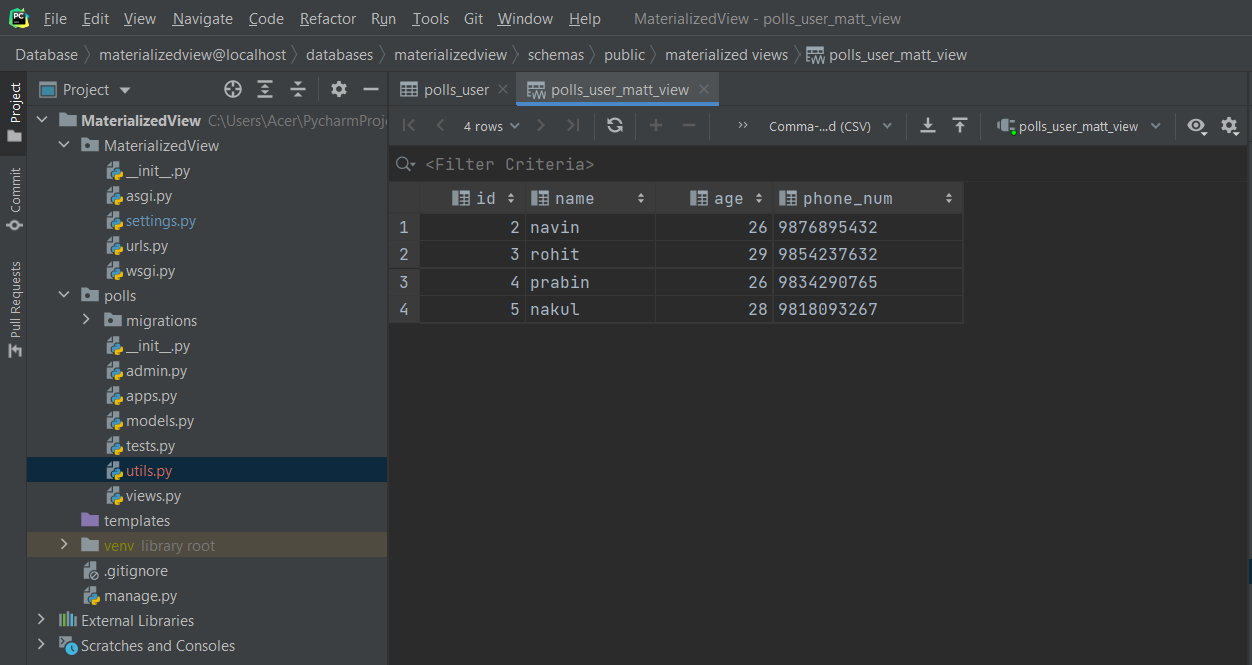
What about the materialized view? Let’s look into the materialized view table.
So what is the query for our materialized view?
  create materialized view polls_user_matt_view as
  SELECT * FROM "polls_user" WHERE "polls_user"."age" >= 25
The materialized view table polls_user_matt_view should have all the data of the user whose age is greater than 25. But as i said, it does not gets updated on it’s own. So let’s move into the next step which is scheduling.
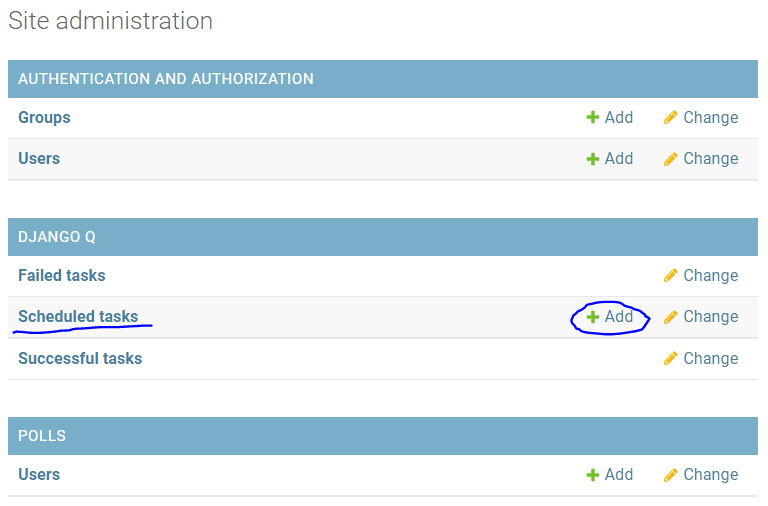
Step4. Schedule the Task With Django-Q
Now finally let’s schedule a task. We will schedule a task using django admin panel. Go to the Django-Q section and add task on schedule task .
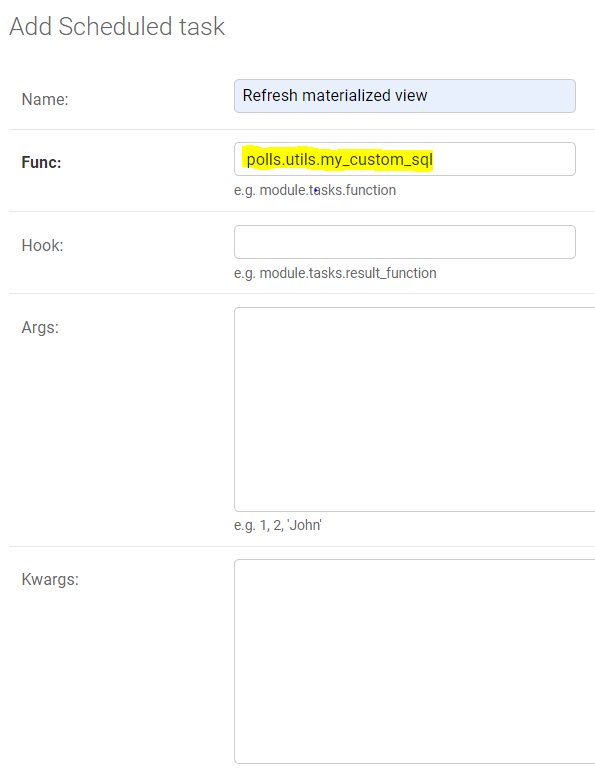
Let’s provide a name and function to run at schedule period.
The function is very important here as it tells django_q which function to run. Simply giving a function name wont work as it does not know where to run given function from. So, we have given “polls.utils.my_custom_sql” to let it know that function should be imported from utils which is under a polls app.
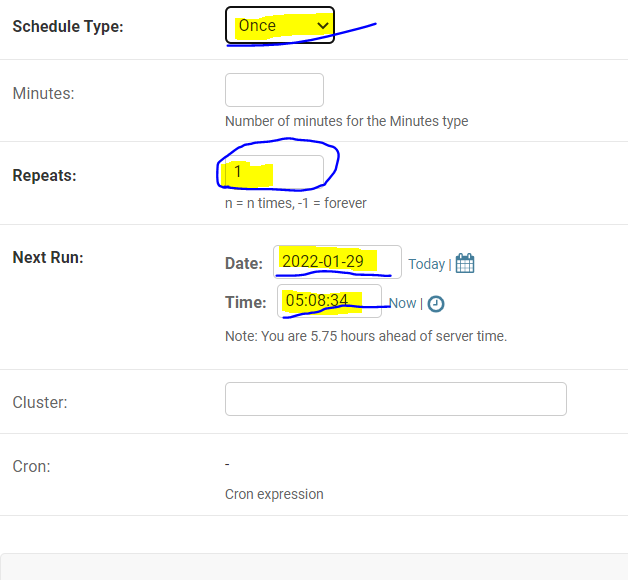
Select a “Schedule Type” according to your needs. You can run it once, in every minutes, hourly and so on.
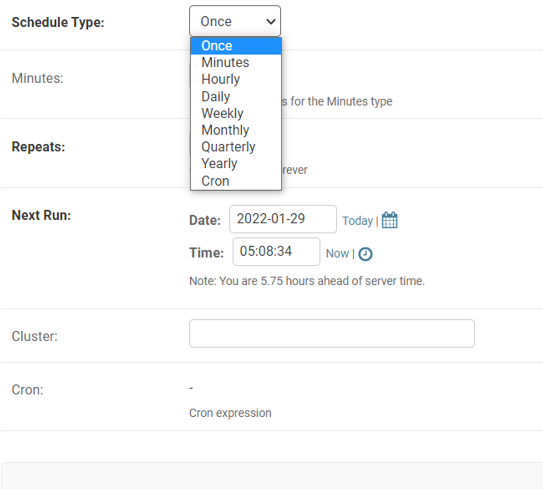
For now, we will run only once and select repeat as 1. If you want to run it forever provide repeat -1 else n equals n times repeat. Provide a date and time to start running the task. We will provide a current date and time for demo purpose.
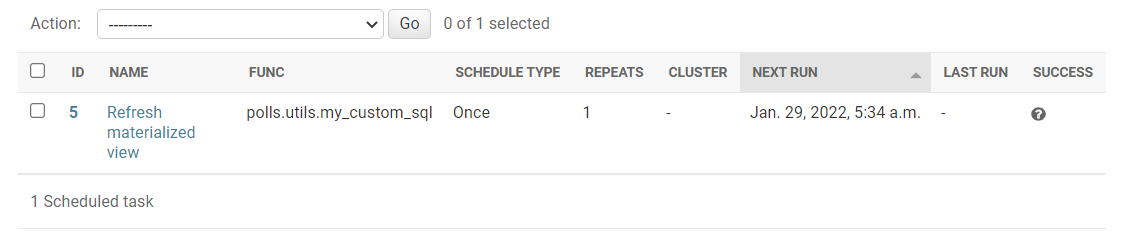
Save the task and wait for django_q to run the task. Here the task has been scheduled for 5:34AM and the status of success is unknown.
If the schedule task goes successful, we should see something like this on the screen.

Now let’s check our materialized view. Before looking at updated materialized view let’s see what it looked like before.
After our scheduled task ran successfully, the data has been updated and materialized view has been refreshed as expected.


Leave a comment